It Ain't Easy Being Green (Screened) Part 1

A typical green-screen setup.
“Green-Screening”, or more accurately chroma keying, is a process where footage shot against a colored screen (green or blue) is edited with the background removed. In the older days of film, the blue or green channel of physical film was simply replaced with a different background. In more recent years, we can film ourselves against a green cloth (without wearing any green of course), click a button, and we’re instantly transported to another world. Using creative animation, stock footage, and more 3D effects, anyone can transform mundane performances into rich, vivid stories unfolding in bold, new worlds.
I’d like to start with the screen itself. While the towering canvases and walls of Hollywood may not be in your budget, I can’t emphasize enough how simple it is to create your own green screen. Should you not want to order a moderately inexpensive sheet (I recommend the Neewer Green Screen and Stand Kits around $30 USD), any plain-colored bedsheet should potentially do the trick. You’re looking for an even color—ideally not transparent (or else you should also put a black sheet behind it)—and a method to hang it up.
Consider your apartment deposit when thumbtacking or taping your screen or use clothespins to tightly stretch your screen to the desired size. You generally want to cover your entire frame, as well as some extra area just in case. If you can, also place your subject farther from the screen to avoid shadows falling on the screen while getting a sharper image too! If you’re worried about room size, see if you can make differently-angled shots with your screen instead of one wide shot. With a higher aperture value (~f3.0+), you can get a sharper image and ideally a better key! Just be sure to adjust your backgrounds as if you were really filmed in those different angles. All of these small tips help us avoid Spill, where the green color from the screen wraps around the edges of your subjects. Should this happen, utilize any Spill Suppressor plugin in your editor and/or try to keep your subject distant from the screen (Thanks Dacian Grada).
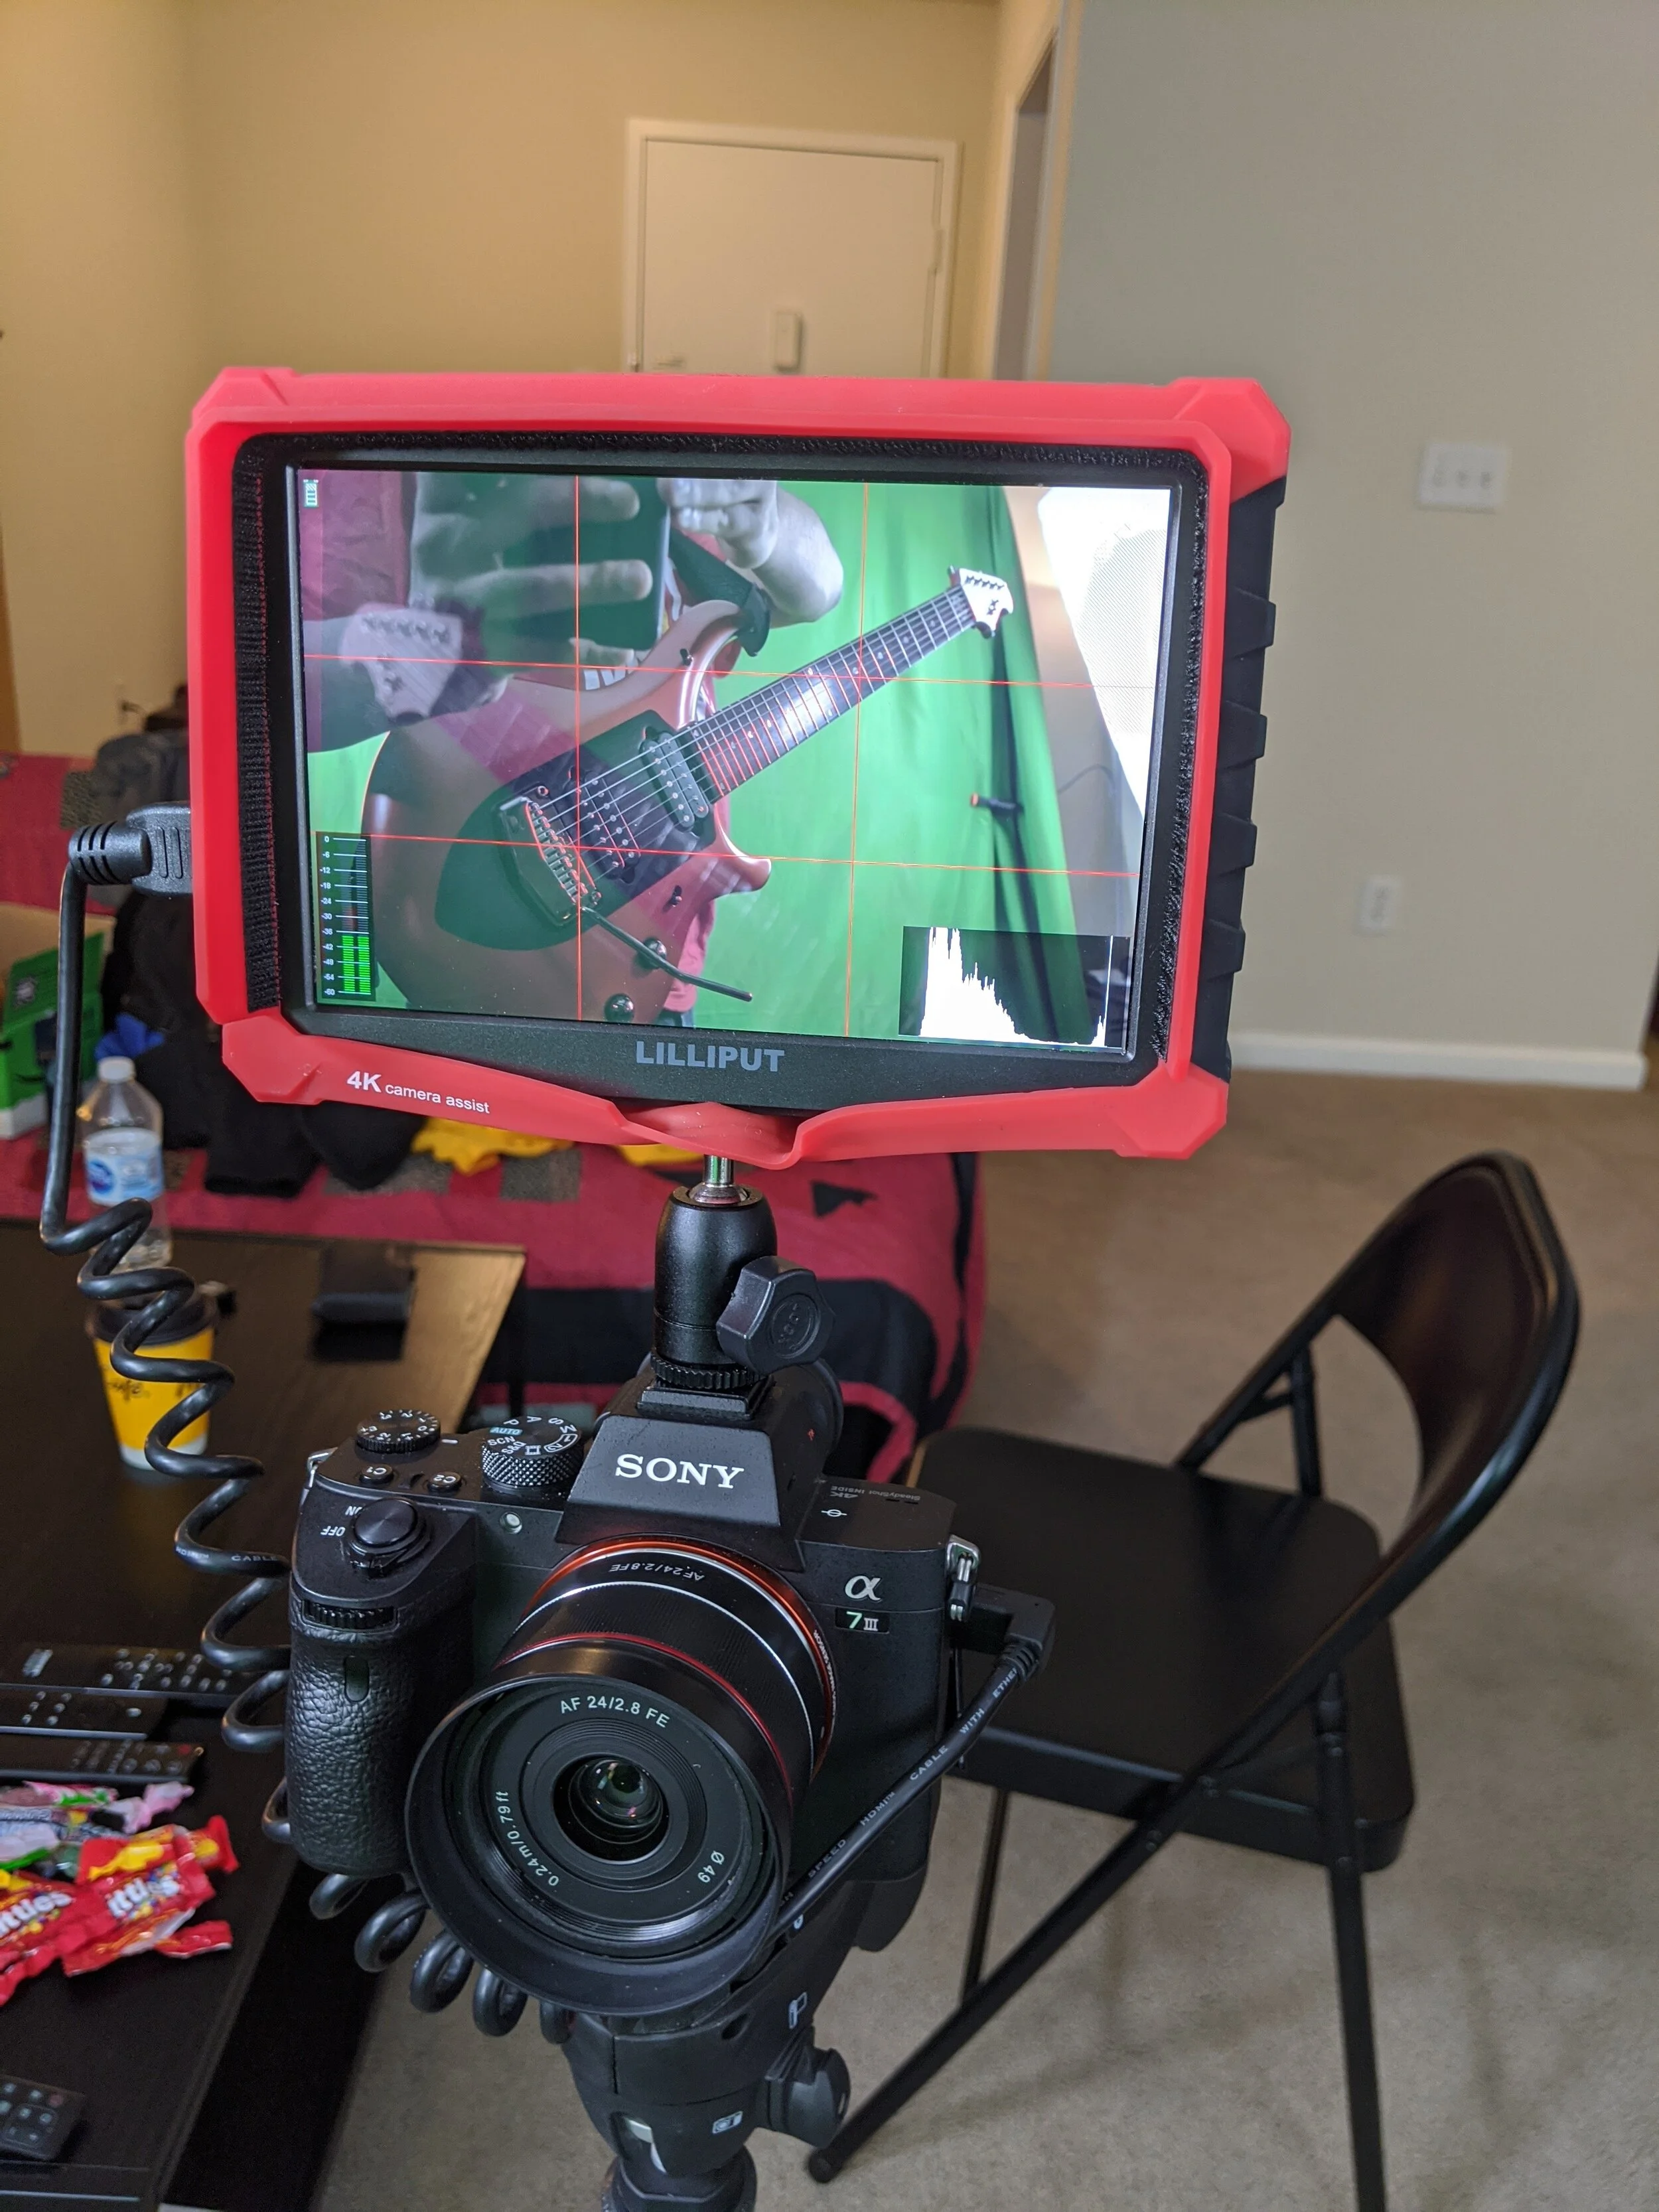
Let there be light! The most important element of a green screen setup is your lighting. You’ll want to evenly light your screen so your software only has to remove one shade of green. One of the best techniques I have learned is to light your screen separately from your subject. If you place two soft-boxes on the left and right of your screen, consider placing a light in the front for your subject for a 3-light setup! Do consider another light above/behind the subject to remove any shadows falling on the screen, and consider using any sort of diffusor/white cloth or less-harsh lighting on your subject. This can help avoid any reflections that your shiny instruments could produce (Thanks SubversiveAsset and Titlife).
You can tell your setup is effective when you bring your footage to edit and see a nice even green instead of dark/light spots scattered across it. You can also mask out your subject in the editing phase and animate the mask; this is tedious but will ensure you don’t have parts of the screen that don’t get keyed. Another element to consider is your “world” lighting. If your subject is underwater, consider using blue on the subjects’ lights or place fitting props to build your world practically. If you film outdoors with a portable screen, you can get more realistic lighting and can even steal some of the ground or natural elements for your background!
Since there's so much to digest in the exciting world of keying and compositing, we will be slicing this guide into multiple parts! In the meantime (or should I say, green time?) grab that camera, green tarp, and get shooting! Practice makes perfect after all.
Ro Panuganti
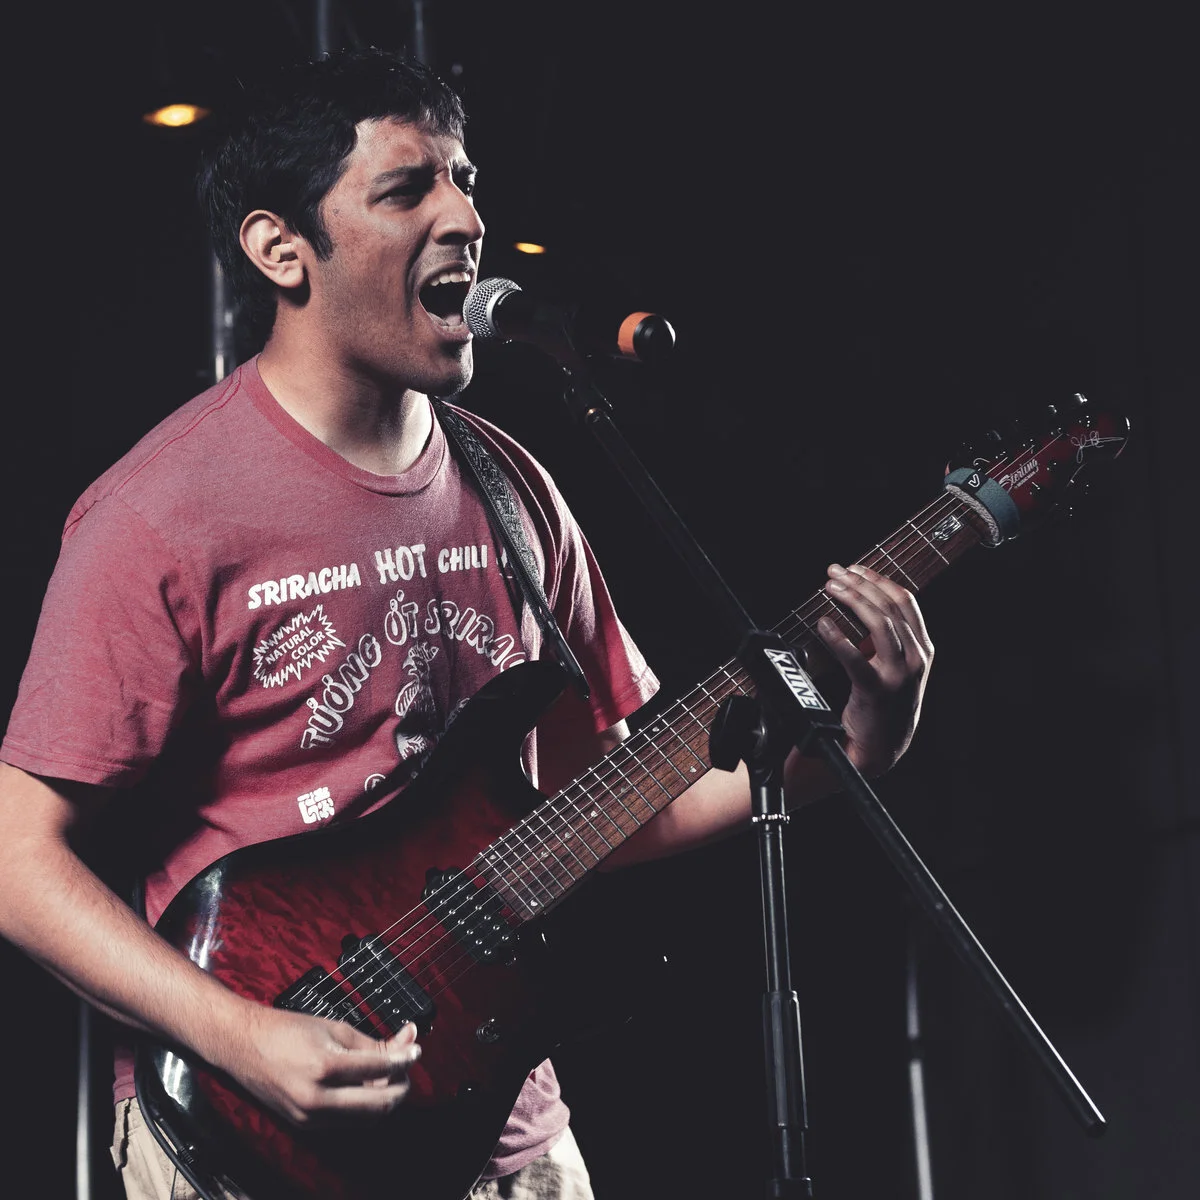
Ro Panuganti is a home-studio guitarist and musician, covering video game and other music on Youtube in a variety of rock and metal genres out of his bedroom.