It Ain't Easy Being Green (Screened) Part 2

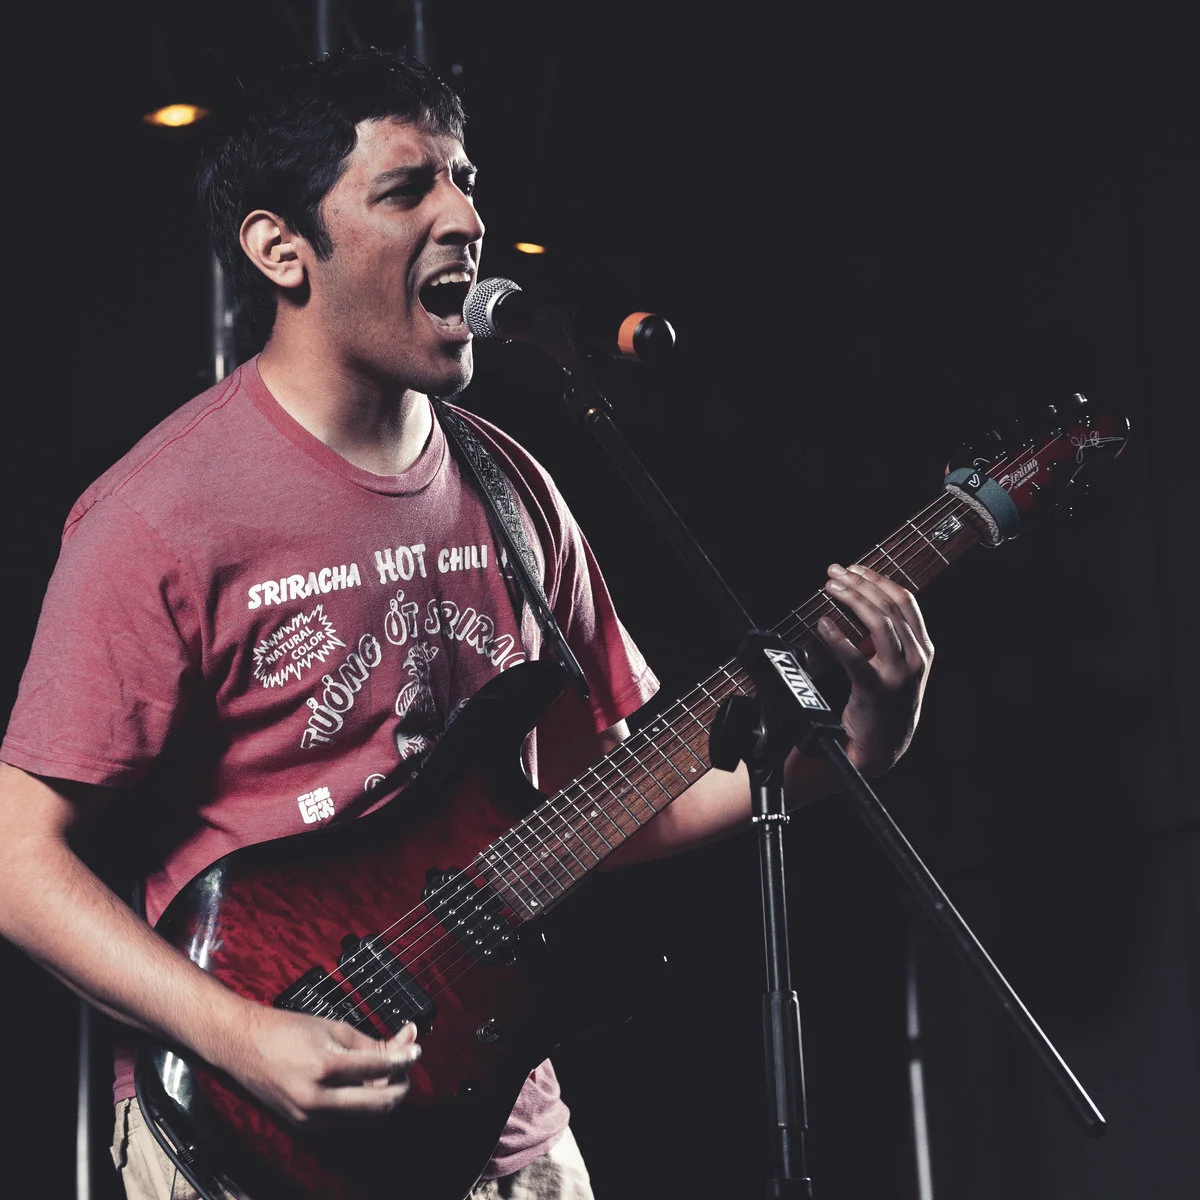
Ro Panuganti strikes a pose in front of a green screen.
Welcome back future VFX compositors and masters of the green screen! If you haven't caught up, check out our previous guide to green screening HERE. This guide will build upon the basics of chroma keying, talking about realistic and clean keys as well as interesting backgrounds to place your subjects in!
As we tackle the art of chroma keying, it’s important to setup your camera for the job. To start, you must have your camera mounted on a tripod (or something similar) to compensate for all motion using motion-tracking. After all, if you were to move a camera in a real cave or space-ship or wherever your location is, the background should be moving (in the opposite relative direction) at the exact same speed. Using a tripod allows you to eliminate the hefty task of tracking a moving background, a more fallible and processor-intensive technique. Shooting at a faster shutter speed can give you clearer key, as there is less blur, but consider your lighting as well (using faster shutter speeds such as 1/100, 1/200, etc. will reduce your shots’ exposure). Also, reducing aperture/raising f-stop value can provide a sharper image and less fuzzy keys of your subject. Nonetheless, remember that virtually any camera or phone-camera should be perfectly up to the task!
No chroma keyed footage is worth its salt without a fitting background for your subjects. You can use 2-D still images, 3-D compositions, gradients or solid colors, or any mixture to create your world. Consider using royalty-free images as a start to your backdrop and introduce other elements to “sell” the audience. If you’ve chosen a snowy mountain for your location, try adding additional mountains closer to the foreground and blur them differently to simulate realistic depth of field. Be sure to add snow, dust, fog, or other visual elements that might keep audience in the world you’ve created (all are available on free/paid websites or can be created inside an FX Suite like Adobe After Effects). If you’re filming from an angle, be sure to compensate your background to appear filmed from the same angle – if you are doing a traditional crane-like close-up over a guitar neck, the background should show more of the ground and have heavy depth of field. As you place elements in your scene and place your subject in a fuller lively world, you’ll eventually need to make it “real”.
Realism, especially in the context of green-screened video, is the biggest challenge when making a green-screened video. If you’ve ever seen an episode of Corridor Digital, you know that the way light affects digital objects is crucial to making them part of your scene. Consider using color correction to balance the subject with the room, be it a dark or bright scene, and see where light sources are in that scene. If I make a cover in a tunnel, for example, I would be lit by fewer lights and would have less harsh highlights (the brightest part of an image). Using tools like Edge Blur can help attach the green-screened world to your subject rather than having the more jagged edges you would see on a weather caster or old-fashioned green screen. Should you invest further into your editing arsenal, I highly recommend the Red Giant VFX Suite, in particular, the Supercomp Plugin is one of the best all-in-one software that can help you blend, light, color correct, and interact with all your layers perfectly. To put it simply, it’s the glue that holds everything together.

Ro Panuganti strikes a pose in a distant world.
With so many techniques and steps to getting solid green-screen footage, it’s easy to be intimidated by the process. Thankfully there are great workflows that can help you integrate keying and compositing scenes smoothly! To start, VFX programs like After Effects or BlackMagic Fusion use pipelines, or different stages of your elements and scenes, to make up the final product. You could have one composition be just your subject, another be your background, and one more as any sparks or dust effects on top. Each of these can also be individually rendered in a compressed format to make editing faster down the line at the cost of a bit of quality. For music videos, I try to avoid longer scenes or full-playthrough shots to cut down on unnecessary renders, but often it’s easier to edit the final product when your footage is keyed out and composited into the background. Consider doing simpler keyed backgrounds for your performances while using more layered and elaborate shots for action sequences or non-musical segments.
With more video editors supporting chroma keying, it’s become easier and more enticing to try green-screen effects in music videos. As you grow your ideas for music and music videos, consider the worlds you can enter to tell your story. If you can adjust everything just right, the audience will believe your subject was really in space, underwater, fighting on top of a building, or playing guitar in a mystical cloud.
Recommendations
Green Screen: Neewer Portable or Kit Green Screens, ebay Green Screens, any bright green cloth
Video Editors: Adobe Premiere, Da Vinci Resolve, Final Cut Pro X, Hitman Studio
Visual Effects Programs: Adobe After Effects, Blackmagic Fusion, Blender/Photoshop (for separate effects or layers)
Resources for stock footage/video/FX: ProductionCrate (Free/Paid yearly with unlimited downloads), Pixabay, Storyblocks
Ro Panuganti
Ro Panuganti is a home-studio guitarist and musician, covering video game and other music on Youtube in a variety of rock and metal genres out of his bedroom.